
Please be advised that the end user account will be created during the creating site process
Method1: Via SolaX cloud:
Step 1: Fill in the basic information of plant, including plant type, plant name, owner email, plant address, country/region, time zone, PV capacity, and battery capacity. Set whether to enable the DST.

[!Note]
- After you entered the address, the system will automatically import the country/region and time zone.
- The DST is selectively displayed according to the zone you set. The zone available to the DST must be in the two conditions: there is no preset DST in the current system and the zone supports the DST settings.
- PV capacity refers to the sum of capacity of all PV panels.
- Battery capacity refers to the sum of capacity of all batteries.
- After you input the end user email address, system will send the account password to the email address automatically.
Step 2: Add device. You can select to enter a device manually by entering the registration number or import devices in batch in the format of Excel.
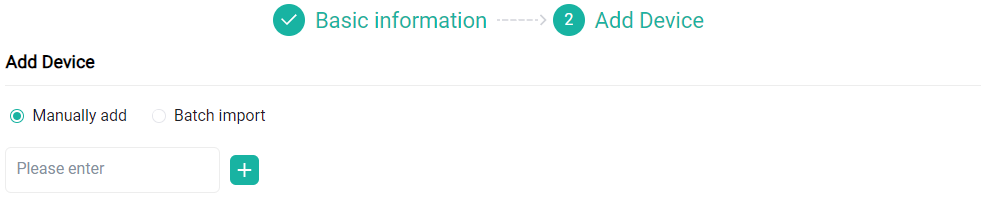
[!Note]You must use the device registration number for Manually Add or Batch Import, not SN. For an inverter, the registration number actually refers to its communication module Pocket Dongle's registration number. You find it at the body of the Pocket Dongle.
Step 3: Click Complete, to add a plant successfully. You can view it at the plant list.
Method2: Via SolaX App :
Steps1:Login your Solax App account
Steps2: Click ‘Plant’-ADD, then input all the information needed


Comments
0 comments
Please sign in to leave a comment.